Elf – 2WD Pi Robot
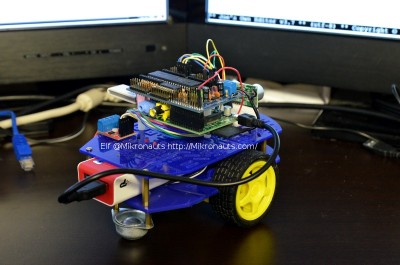
The separate power supplies for the motor and electronics minimize noise, increases run time, and prevents the motors from browning out the Raspberry Pi and/or RoboPi.
(click on image for larger photo)
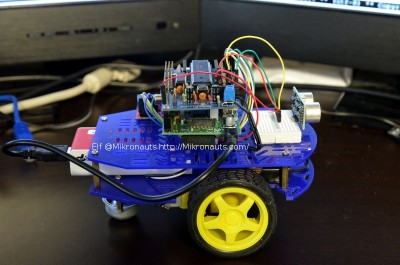
Here is a good view of the micro USB cable powering the Raspberry Pi and RoboPi:
(click on image for larger photo)
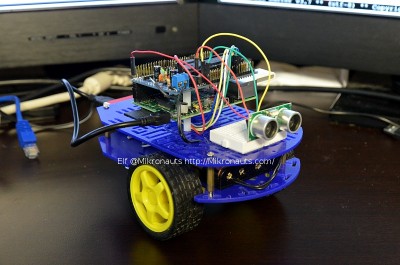
You can see the wires for the motor driver board here:
(click on image for larger photo)
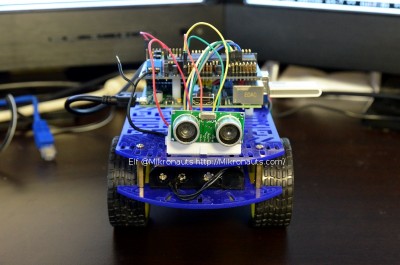
Elf seems to be saying “Here’s looking at you kid…”
(click on image for larger photo)
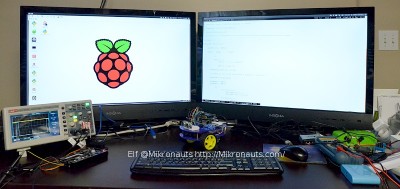
Here is my main software development station – currently showing
- (left) an RDP connection to Elf (yep, that’s Elf’s Raspberry Pi’s desktop)
- (right) ssh connection to Elf
It is extremely cool to be developing Elf’s software right on Elf… not to mention very productive compared to constantly tethering older bots to change software, removing the tether, testing, rinse and repeat…
(click on image for larger photo)
The monitor on the left is displaying a remote desktop from Elf, who is front and center in front of the monitors.
