Elf – 2WD Pi Robot
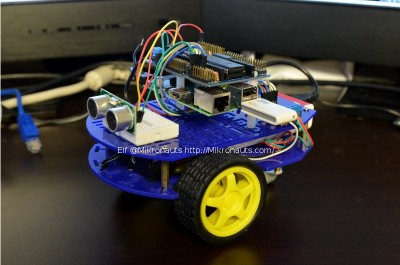
Meet Elf – my 2WD gear motor robot based on RoboPi and Raspberry Pi !
Last Updated: May 31, 2015 – added Raspberry Pi Camera and MJPG-Streamer for WiFi video streaming!
After receiving my prototype RoboPi printed circuit boards, I did my initial testing with my SPRITE robot… and it worked great, however SPRITE uses continuous rotation servos for locomotion, which is great for small, light robots, but not sufficient for larger, heavier bots, nor for testing various motor driver boards with RoboPi.
The Magician 2WD chassis is inexpensive, and readily available – and I have quite a few in stock – so I thought it would be a great platform for testing low power motor controllers, and building an inexpensive RoboPi + Raspberry Pi based robot – thus Elf was born.
(click on image for larger photo)
(Please note: This article is a live build log of Elf, which will show Elf growing over time as I add capabilities.)
Elf consists of:
- RoboPi advanced robot controller
- Raspberry Pi Model B
- Kingston 4GB SD card
- Netis WF-2111 USB WiFi stick
- Magician 2WD chassis
- L9110S dual motor driver
- 170 point breadboard
- HC-SR04 ultrasonic range sensor
- Patriot Fuel+ 5200mAh USB battery bank
- 4xAA cell battery holder + batteries for motor power
- misc jumper wires
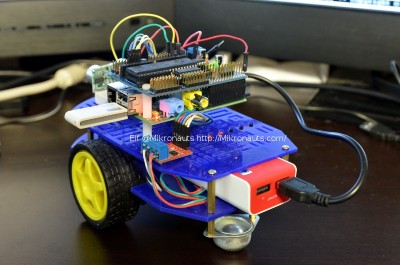
Below, you can see the two battery packs on the lower deck:
- 4xAA cells in a holder above the wheels
- USB power bank in the back, above the caster
I thought y’all might enjoy a pseudo-360 view of Elf… so I took eight photographs for this article at roughly 45 degrees apart.
(click on image for larger photo)
Having the USB power bank over the caster helps balance Elf, as otherwise he would tend to tip forward a bit
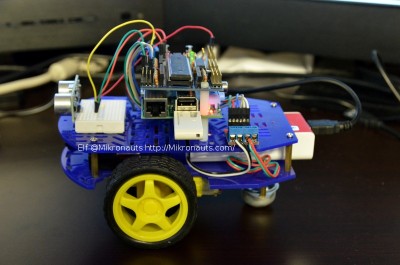
The HC-SR04 sensor is plugged into the breadboard, and four jumper wires are used to connect it to a single RoboPi I/O.
You can also see the small L9110S motor driver board, with the four wires going to the motors on the bottom of the robot, and six wires going to RoboPi.
Four I/O’s are used, two per motor to control speed and direction.
(click on image for larger photo)
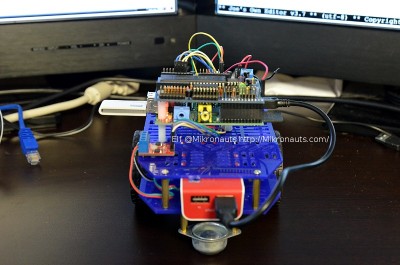
As you can see, there is plenty of space on the back for an additional breadboard or printed circuit board.
(click on image for larger photo)


