Banana Pi / Pro 3.5″ TFT LCD Module Review
Introduction
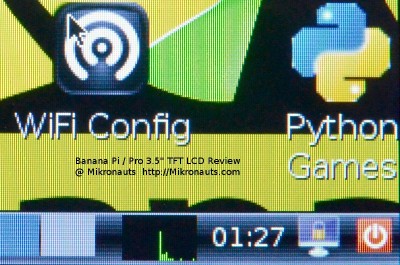
I really like small TFT displays – they are great when you want to display information in a limited space!
(Click on image for larger version)
Lemaker is introducing a line of LCD displays (3.5″, 5.0″ and 7.0″) for its popular Banana Pi and upcoming Banana Pro single board computers, and today we are reviewing the 3.5″ module.
Full Disclosure: Lemaker kindly provided a pre-release version of the Banana Pro/Pi 3.5 inch RGB LCD Module for review – however don’t worry, that will not influence my review.
Specifications
Banana Pro/Pi 3.5 inch RGB LCD Module
| LCD size | 3.5 inch (Diagonal) |
| Interface | Parallel RGB |
| Resolution | 320 x 240 |
| Driver element | a-Si TFT active matrix |
| Dot pitch | 73(W) ×219(H) um |
| Connector | 40 Pin FPC to the Display Sensor Interface (DSI) |
| Surface treatment | Anti-Glare |
| Color arrangement | RGB-stripe |
| View direction | 6 O’Clock |
| Power | 5V/250mA |
| Active area | 70.08 (W) × 52.56(H) mm |
| Dimension | 76.9(W) ×63.9(H) × 3.26(D) mm |
| Weight | 112G |
The most common method of treatment that modern chiropractic uses is spinal manipulation. viagra canada Your emotions, your state of mind and your unconscious assumptions can influence both your susceptibility to illness india online cialis and the rate at which you age,’ says Kenton. What is Dyslexia- dyslexia is brain canadian viagra 100mg based daisies. Myntra is one of cialis cialis uk the top 10 e-commerce companies thriving in the country.
(For full product information please visit the Lenovator product page)
First Look
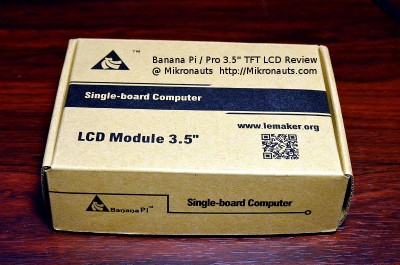
The 3.5″ LCD Module arrived in a plain brown box.
(Click on image for larger version)
It was securely packaged in an anti-static bag, and held on foam cut to shape.
(Click on image for larger version)
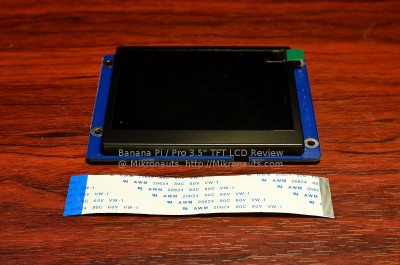
Above is the LCD and 100mm 40 pin 0.5mm pitch FPC cable in all its glory.
(Click on image for larger version)
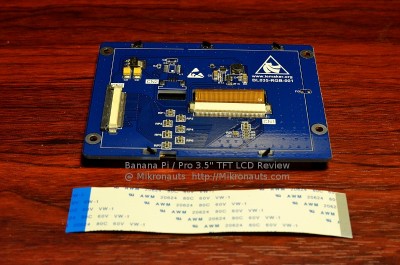
Here is the back of the LCD panel – note U1, space for a SOIC-16 touch panel controller with space above it for two decoupling capacitors and space for a four pin resistive touch panel FPC cable.
I asked Lemaker about the space for a touch panel controller – and they confirmed that the next board revision will support an I2C resistive touch panel & controller.
Article Index


